Showing posts with label Mother's Day crafts. Show all posts

Sunday, August 11, 2013

Easy Flower Printing Project

This idea isn't exactly original. In fact, there are plenty of variations floating around the internet already. Anyway, Mia gave me a Mother's Day card she made at school using this stamping method, and it is super-simple to replicate at home with very few supplies. (The hallmark of a good kids' craft project, in my opinion!) So, on a rainy day awhile back, when she wanted a craft to do, this is what I pulled out.

We don't buy a lot of things that come in single-serve plastic bottles, so I have been saving these for a bit. Mia got the water bottles at school and from a birthday party. These worked okay for making flowers. The Sierra Mist was purchased to enjoy mixed with our Bacardi that we brought back from Puerto Rico. If you want the prints that most resemble flowers, these bottles make adorable five-petal daisies. The Powerade bottles are the only ones that we normally have on hand since Brett likes to drink it after long runs, however, these were not the best for producing "flower" prints. They really just made a circle, which can certainly be used for print-making, but it just takes a little creativity to make them look like flowers. My kids ended up using the bottle caps as well, so that could be the centers of the flowers, if desired.

This printmaking project is a craft that is simple enough to be done with any age of children from toddlers on up. I think it was especially nice for Mia's kindergarten class, but I think it would work well, for preschool, too. P.S. Don't be surprised if this turns into a finger painting project. This tends to happen at my house, anyway, and it did with this craft, as well!

{Finished Prints by Mia, 6, and Logan, 3}

Materials:
  • tempera paint
  • empty plastic bottles (water, pop, Powerade, etc.)
  • Styrofoam trays
  • paper (heavier paper is recommended, but any will work)
  • paint brushes (optional)
  • cereal box liners (to protect work surface, optional)
  • old clothes/paint smocks (optional)
Directions:
  1. Old clothes are suggested for this. My kids each wear an old t-shirt of mine for paint projects. Logan's is quite large around the neck so I secure it in the back with a clothespin. You might also want to protect your work surface. I like using the liners from cereal boxes, but you can also use newspaper or a vinyl table cloth that you are not worried about messing up. Tip: If you have more than one child, set up a paint station for each kid. This makes things a lot easier when they each have their own space and materials to work with!
  2. Pour some tempera paint onto a Styrofoam tray. We used powdered tempera paints that I mixed up before getting started, but ready-made paints would work, too. Tip: Styrofoam trays can be sterilized in your dishwasher so you don't have to worry about germs from meat! Tip: If you don't have any Styrofoam trays, use a plate. I don't suggest bowls, because you need a flatter surface to make this easy for kids. Tip: Unless you enjoy mud colored paintings, limit the number of paint colors that each child uses. I let my kids pick up to 3 colors for their tray. You can also choose colors that go with your decor if you think these will end up in frames. I let mine use yellow, red, and purple, knowing that they would mix the red and yellow together to get orange.
  3. Let kids dip their bottles into the paint and then press it onto paper. We used construction paper and white card stock, and the card stock was my preference for this project. It produced clearer, more vibrant colors, and the heavier weight withstood the wetness of the paint, which got applied quite heavily in some places. Tip: Paint brushes are optional. You might want them if you would like your flowers to have stems, for example. Or you can use the brushes to apply the paint to the bottles if dipping them into the paint isn't getting the desired coverage. 
  4. Allow paint to dry completely before displaying the prints. Or, you can use it to make a card like Mia did for Mother's Day. Tip: I like to let paintings dry on the cereal box liners, which can easily be moved from one location to another, if for example, you need to use your table or counter for meals. Tip: Keep a black Sharpie on hand, and once kids have finished their prints, label them with name and age or date that they were created. This is much easier to remember right after doing the project and it looks nice in a frame, or relatives always appreciate this sort of thing, if you are running out of room for keeping your kids' artwork.
{Clever kids made use of both sides of the bottle.}

Wednesday, May 15, 2013

A "Tweet" Mother's Day Gift

I love when I discover that I can do something new. Don't you? I'd had seen this kit for making birds nest earrings (so cute!) in the Oriental Trading Company catalog a handful of times and each time I thought I really like those. I wonder if I could make them? But, why would I buy a kit to make 6 pairs? Then, I decided they would be perfect for Mother's Day gifts, so I went for it!

I'm glad I decided to give it a go. These were not at all expensive and both my mom and mother-in-law were impressed by them, saying, "You made those!?" Yep. That's me. I can make earrings, apparently. (I'm smiling while I type this because I am so pleased.) Each pair only took between 20 and 30 minutes to make, I think, and it took less time as I went along because I got the hang of it. All I needed to make them was a wire bending tool-thingy, which I already owned for some reason. (In case you couldn't tell from my lack of proper terminology for the tool, this is my first attempt at jewelry making -- outside of the little "class" I took at our library in the fall -- where I made a couple of necklaces that are sort of falling apart.) I'm pretty sure I bought this tool some years back when I was making beaded wire flower pot decorations in the shapes of butterflies.

How will I use all 6 pairs of earrings? Well, I made one pair as a gift for myself. Remember, I mentioned that Mother's Day this year also happened to be my birthday? So, of course, I needed a little something special for myself. The remaining three pairs will be perfect for end-of-the-school-year teacher gifts for Mia's kindergarten teacher, para-pro, and her tap teacher. Yay for advanced planning and having that taken care of! (I'm mentally patting myself on the back, here.)


I think the card turned out cute, too. I used some pre-made beige card stock cards. Ordinarily, I just make my cards from scratch, because I am cheap resourceful, but I found these on clearance and put them aside for when I needed a quick card. (Since this month is sort of kicking my butt with exhaustive things that I trying my best to keep up with, I was thankful for that foresight!) Next, I found a pretty bird-themed clear stamp in my collection and used my scrapbooking markers to ink the bird in teal, the branch in brown, and the leaves in green. I gave it a quick "huff" to add some moisture back to the pigment in case it had started to dry out while I was finishing my coloring, and then stamped it in the lower right corner of the card. I used my ProvoCraft Silent Setter tool (I got this a few years ago at either Jo-Ann's or Michaels, using a coupon, of course!) to make two holes in the front, using the smallest size punch tip. First, opening the card and placing the cutting mat on the inside of the card prevented me from making the holes go all the way through when I only wanted them on the front of the card. Then, I slipped the earring through the holes and added a small piece of tape to the inside to secure them. I scrawled a quick note, and the card was finished, wishing both grandmothers a "tweet" Mother's Day. I have since made 3 more quick and easy cards for the teachers with "a note of thanks" stamped in brown below the bird in place of the words "Happy Mother's Day!"

Nature is full of elegant designs. I just love the color of the robin's egg blue paired with the twisted silver wire. It's very organic and simple. Plus, I love the symbolism of nesting, which I thought was perfect for some of our favorite nurturing women. I think this makes a nice tribute to the moms, grandmas, and teachers in our lives, who deserve to have a "tweet" day on Mother's Day. I hope that you, too, had a "tweet" and restful Mother's Day.

Tuesday, April 9, 2013

Recycled Magnet Craft

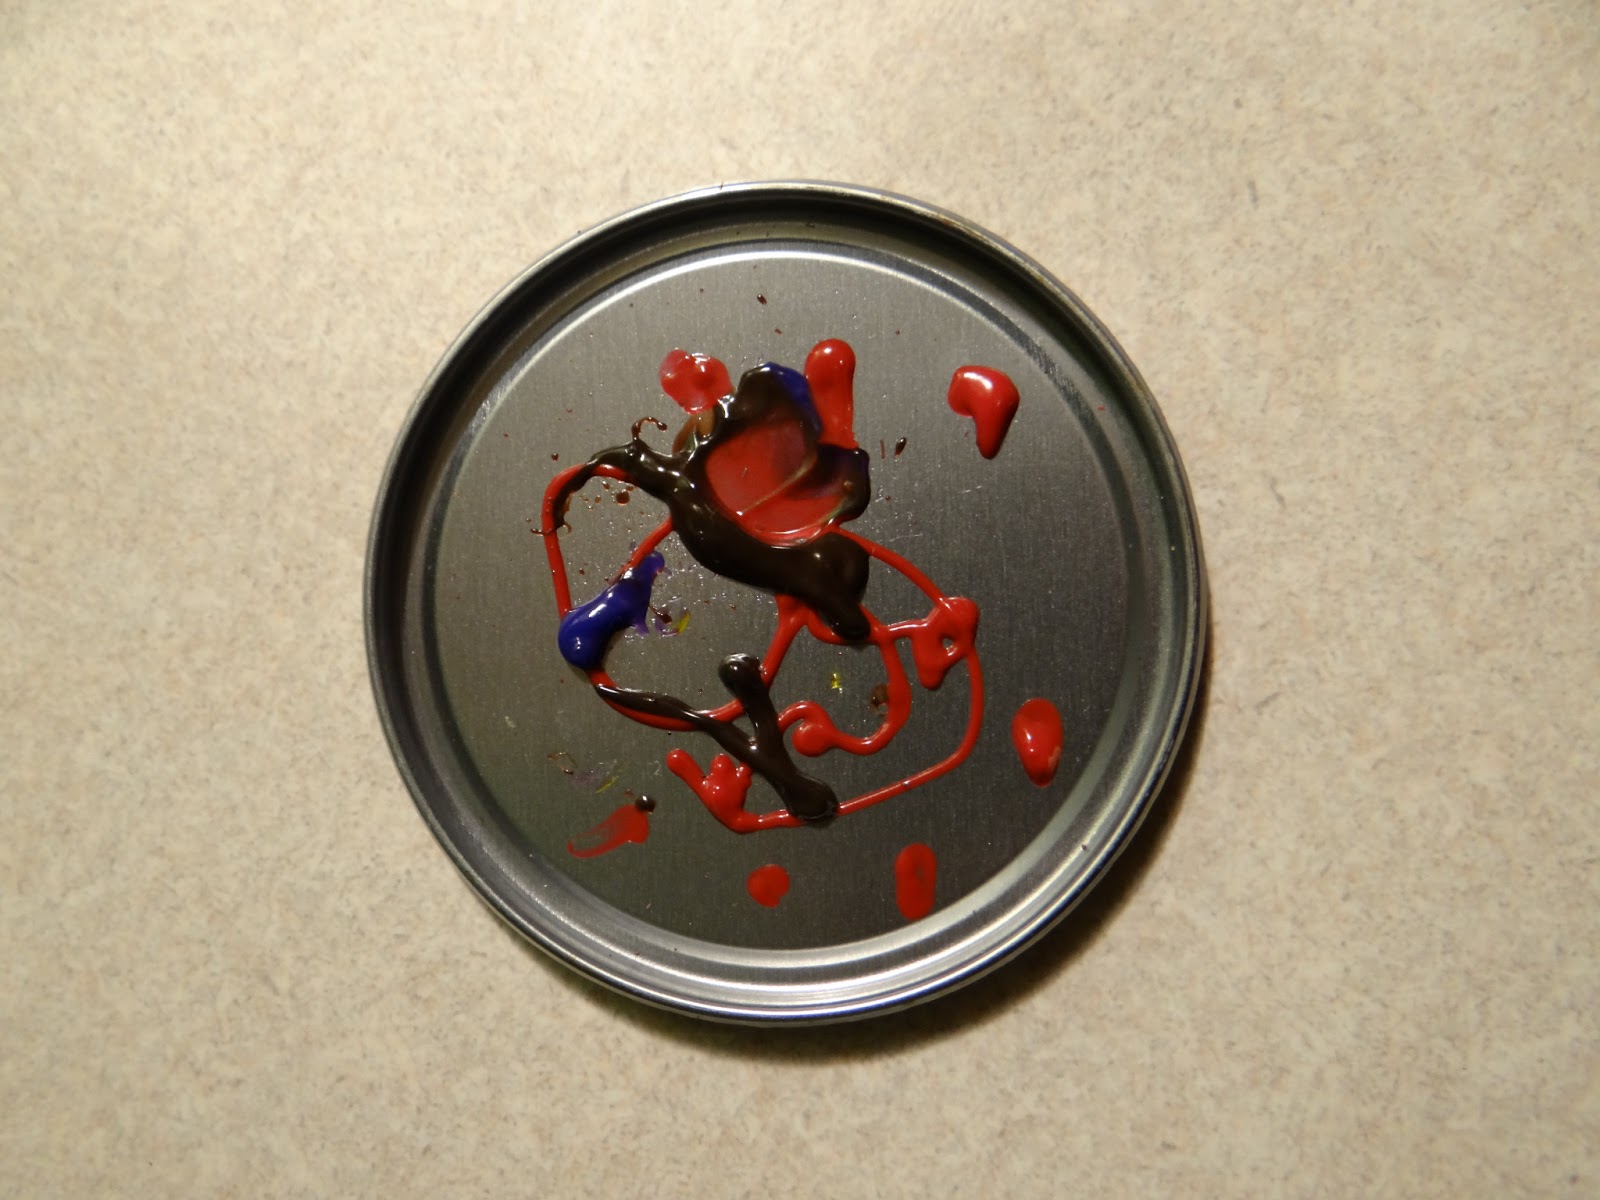
Here is a brilliantly simple way to re-use that round piece of aluminum that comes with cans of frozen juice. I learned this one tonight at the Art Night at Mia's school and even though I very rarely buy frozen juice, I loved this idea! In the past I always felt there had to be another use for that nice round piece of tin, but I never thought of one. Now, I know! They make super-simple little magnets.

To switch things up, you could even cut out a photo and paste it in to make them little photo frame magnets instead of using puffy paint. That is much less likely to stain clothing and more personal, too. I think that would make a nice Mother's Day gift idea.

{Recycled Magnet by Mia, Age 6}


Materials:
  • clean, round aluminum lid from frozen juice can
  • self-adhesive magnet
  • puffy paint
Directions:
  1. Peel the backing off of a self-adhesive magnet, and adhere it to the inside of a clean, round lid from a frozen juice can.
  2. Flip it over and then use puffy paint to make designs on the opposite side. Tip: I have found puffy paint to stain clothing, so you may want kids to wear smocks or old clothes before using puffy paint.
  3. Allow puffy paint to dry completely. This will take several hours, more or less, depending upon how thickly you apply the paint. Now you have a magnet. Tip: You can save your lids and then make several magnets to give as gifts. This is something useful that any mother would appreciate for Mother's Day!

Tuesday, May 8, 2012

Cherry on Top Cupcake Craft

Oooh... I must have really been in the zone, creatively speaking, when I came up with this idea for a Mother's Day card (or gift). I think these cupcakes could also be used for Valentines or for a birthday gift for a special little girl or even as a gift for sweet teacher.

{Cupcake by Mia, Age 5}

Materials:
  • white paper (We used 8" x 8" scrapbooking paper.)
  • colored cardstock
  • paper crimping tool
  • scissors
  • glue
  • shaving cream
  • food coloring
  • tray/plate/bowl to hold paint
  • paintbrush
  • red pom pom
  • green pipe cleaner 
  • picture frame (optional)
  • black marker (optional)
Directions:
1) Take your cardstock and run it through the paper crimper to get texture like a cupcake wrapper. Cut into a trapezoid shape. I found this template that should work if you don't want to cut the shapes freehand. Have your child glue the paper trapezoid "cupcake wrapper" to the paper, making sure to leave enough room for painting the top of the cupcake.


2) On your tray (We re-used a Styrofoam meat tray), squirt a small amount of shaving cream. Add a few drops of food coloring (We used neon pink) and mix with a paintbrush to get the desired color. Have your child paint "frosting" above the paper trapezoid. Set aside to dry. This takes awhile, and varies depending upon how thick your painting is. Ours was still a bit tacky after 24 hours, so this isn't ideal for last minute gifts.


3) Once paint is dry, glue a red pom pom onto the top of the "frosting" to make the "cherry."

4) Cut a short length of green pipe cleaner, shape as desired, and then glue by the top of the pom pom to make the cherry "stem." (I realize that cherry stems really are more of a brown color, but green seemed prettier.)


{Another Finished Cupcake by Mia, Age 5}

5) Once the cupcake is finished, you can turn it into a card by writing a message with a black marker. My ideas are along the lines of "Hope Your Mother's Day is Extra Special with a Cherry on Top," "Happy Birthday to a Sweet Girl," or "Thanks for Being a Sweet Teacher." Or, you can write your message and then place the finished project in a frame and then give it as a gift. (Michael's has 8" x" 8 frames for $4.99 that are perfect for this.)

Other Ideas:
  • Mix paint with the shaving cream in place of food coloring. (If you are worried about stains, have your child wear old clothing or a paint smock. You might also wish to protect the work area with newspaper before starting.)
  • Add sequins or beads to make "sprinkles" for your cupcake.
  • Add a flower embellishment in place of the cherry on top. (Try felt or silk flowers since paper may not hold up the best on top of the shaving cream paint.)
  • In place of colored cardstock, consider decorative scrapbooking paper for cute cupcake wrappers.
  • Or, you could try using actual cupcake wrappers if you wish. (I felt that once you flattened them they lost the proper shape of the cupcake, which is why I decided to make ours from cardstock.)
  • If you don't have red pom poms, buttons would make cute cherries, too. (They just won't have the same 3-D effect.)
  • If you don't have green pipe cleaners, try short lengths of ribbon or yarn to make the cherry stems. (The nice thing about pipe cleaners is that you can bend them the way you want and they retain that shape.)
  • I think this would be cute for things other than cupcakes. I am imagining a triple decker ice cream cone with 3 different colors of shaving cream paint... or an ice cream sundae ... or maybe even a whole cake. There are lots of sweet possibilities.

Monday, April 16, 2012

Beaded Clothespin Butterflies

I think this has to be one of my favorite crafts that we have ever done. Not only are they cute, but even my Little Man could thread his own beads onto the pipe cleaners (while I held the pipe cleaner) so this is really a craft that can be done with almost any age group. The only part I had to do was assembling the butterflies. This was a great way to occupy our time on this very windy and somewhat rainy day. I could also see making these butterflies for Easter or for Mother's Day gifts. Here is where I found the idea for this (floating around on Pinterest).

{A couple of Mia's butterflies}

{Beaded Butterfly by Logan, Age 2 1/2}
Materials:
  • wooden clothespin
  • 3 pipe cleaners
  • scissors
  • plastic beads
  • acrylic paint
  • paint brush
  • something to hold paint
  • glue (hot glue is recommended)
  • wax paper (optional)
  • fishing line (optional)

Directions:
1) Paint a wooden clothespin as desired. Set aside to dry. Tip: I suggest doing this on wax paper, especially if you are painting all sides of the clothespin. It won't stick as much as it would if you laid it to dry on newspaper. Tip: Acrylic paint stains clothing so have kids wear old clothes or protect clothing before starting.

2) Leaving about one inch uncovered on either end, string beads onto a pipe cleaner. Repeat with a second pipe cleaner. Tip: I found the easiest way to do this was to bend it upward at the end so that the last inch wasn't available for the kids to put beads on. This also prevented beads with larger openings from sliding off the ends (not a big issue, but still it could be helpful.)

3) Cut the last pipe cleaner in half. Bend it in half for the butterfly's antennae. Thread a bead onto each end and wrap around to secure if desired. (Some beads may stick well on their own. You can also add glue if you like.)

4) Making the wings is the trickiest part. (The blog post this idea came from said to make a figure 8, which took me some trial and error, so I will try to make the directions as clear as possible.) Take one beaded pipe cleaner and form a circle.


Then take slightly more than 1/2 on top pull it into a small circle and bring the end over to the rest of the pipe cleaner. Fit the end in between two beads and loop it tightly around one time, making sure that the end sticks off the side that will be on the inside of your butterfly. Now you have something that looks like a lowercase "g."


Bring the other end up to meet the beads where you just twisted the pipe cleaner. Again, loop the end around and make sure that it is secured around both sections of the beaded pipe cleaner. Loop around again if needed. Now you have a sort of figure 8 with a one oval larger than the other. To me, it looks a bit like a capital "J" in cursive handwriting.


That's the first wing. Repeat step 4 with the other beaded pipe cleaner to make the second wing. Congratulations! The hard part is over.


5) Once clothespin is dry, pinch it open, add a drop of white glue or hot glue, and insert center of pipe cleaner antennae. The pipe cleaner antennae will be held in place once the clothespin is closed.

6) To attach the wings, put glue into both sides of the spring on the clothespin. Tip: Hot glue works best. Of course, this should only be used by an adult. Then, insert pipe cleaner ends into each side of the spring. Tip: You may wish to trim the ends first if they appear too long. Another suggestion is to add more hot glue as needed if the wings don't seem sturdy enough.


{I know I shouldn't brag, but isn't my butterfly so darn cute?!}

{"Princess" the Butterfly by Mia, Age 5}
7) Allow glue to dry before displaying your butterfly. I hung our butterflies from the dining room chandelier. To do this, I took a length of fishing line, and placed the clothespin in the center. Then I tied it around and knotted it off so that the fishing line was nestled into the groove. Lastly I took the two ends of fishing line, threaded them both through the an arm of the chandelier, and secured them with a double knot. I repeated this for all 5 of our butterflies.

{I love how they flutter in the breeze when we walk by.}


Tuesday, April 10, 2012

Butterfly Foot Print Paintings

When I saw these butterfly foot print paintings, I knew we had to make some since they are so cute and we love butterflies. I can see them as an Easter craft, Mother's Day craft, or just a nice craft for spring. They could easily be framed to make nice wall art.

{Footprint Butterfly by Mia, Age 5}
{Footprint Butterfly by Logan, Age 2 1/2}
Materials:
  • paper
  • foam paintbrushes
  • acrylic paint
  • Styrofoam trays
  • black permanent marker
  • newspaper to protect work surface
  • old towels, paper towels, baby wipes, etc.
Directions:
  1. Before starting this project get ready for a potential mess by protecting your work surface with newspaper. (Note: I recommend doing this on your dining room floor.) Cover kids clothing or have them wear old clothes as acrylic paints will stain. Be sure to have old towels, paper towels or baby wipes handy for quick clean up. (You definitely do not want kids running away with messy feet!)
  2. The original picture I found of this craft was using canvases, which would be nice, but I didn't have any. I used white cardstock which I had on hand. Lay the paper on top of the newspaper.
  3. Pour about 3 or 4 paint colors of your child's choosing onto a Styrofoam tray (reused from meat packaging) or a plate. Have your child sit in a chair near the paper and paint the colors onto the bottom of one foot using a large foam paintbrush. (I had my kids tell me their preference for the order of the colors first.) Help child off chair and press his foot firmly onto the paper. Note: The placement of the feet is opposite of the way they would naturally be standing. (The left footprint becomes the right wing of the butterfly and the right footprint becomes the left wing.) Be sure to plan accordingly so that you have enough room on your paper for both prints.
  4. Clean the bottom of the foot and repeat with the other foot. Try to place the footprints as closely together as possible.
  5. Apply some paint to your child's thumb and make two impressions above the wings for the ends of the antennae. Allow paint to dry completely.
  6. Using a permanent black marker, draw the butterfly's head, antennae, and body, including a face, if desired. (Note: I realized after doing this that our butterflies weren't truly anatomically correct since they should only have a head and 2 other body segments, but I was doing my best to close the gaps between the footprints. If you are inclined, you can make your butterflies more scientific, but I think ours turned out nicely.)  


Wednesday, February 8, 2012

Rose Bouquet Print Project

{Bouquet by Logan, Age 2}
The inspiration for this project comes from the current (Feb. 2012) issue of Disney "FamilyFun" magazine ("Pretty Produce" on page 18). At first, we just made cards with the end of the celery stalk like the article suggested. Here's Logan's -------------------->
Then, after the kids started stamping all over the paper (which is fine, of course), I realized that we could take it a step farther and make bouquets. They're perfect for Valentine's Day, but would also make nice Mother's Day gifts.

Materials:
  • construction paper
  • tempera paint
  • Styrofoam tray to hold paint (or plate or bowl)
  • foam paintbrush
  • end cut from bunch of celery (Ours was about 2 in. long.)
  • cardboard (Ours was a cereal box.)
  • scrapbooking paper
  • pencil
  • scissors
  • glue
  • newspaper to protect work surface
  • optional items for decorating: rhinestones, pom poms, ribbon, etc.
Directions:
{Bouquet by Mia, Age 5}
  1. Pour a small amount of paint onto a Styrofoam tray (or similar). Dip paintbrush into paint and spread on the cut part of the celery. The child will stamp this repeatedly onto the paper to make a cluster, adding paint as desired. Tip: I think it looks nice if you make a few impressions before adding more paint because this gives variation in the color. Let paint dry completely.
  2. Draw a vase shape onto one side of an empty, flattened cereal box. Cut out. Trace this same shape onto a piece of decorative paper and cut out. Glue paper on top of cardboard. Let glue dry.
  3. Once painted flowers are dry, cut around the bunch leaving some colored paper border. Glue the flowers onto your cardboard vase. Another option would be to make stems from paper, pipe cleaners, or drinking straws. Affix to the back of the vase and then glue or tape the printed flowers on top of the stems.
  4. Decorate as desired. Mia added self-adhesive (a lot of) rhinestones and some pom poms.

Valentine's Heart Bouquet Craft


When we were at the pediatrician's office yesterday for Mia's 5 year well check (How did that come up so quickly? I swear she was born two weeks ago.), I saw some paper hearts in a clay pot at the receptionist's desk. What a cute idea, I thought. I'm not sure what the "stems" were made of. They looked a bit like those sticks for cake pops or candies, but I don't have any of those. I decided that pipe cleaners would work fine, although they don't keep their shape quite as well.

For the container, we used a can that we had already decoupaged after being inspired by this post by Button Bird Designs, using fabric remnants (which I actually bought eons ago when I thought that I was going to sew stuff -- ha!).I do have some empty pots at home, but I figured that tin cans were more durable and kid friendly, not to mention cheap, and readily available. Plus, if you're environmentally minded, it feels nice to re-purpose something that might otherwise be junked. Anyway, that's my thought process behind this craft. It was perfect for using up lots of paper scraps that I had been saving.

Materials:
  • tin can
  • fabric (or decorative paper)
  • Mod Podge
  • foam paintbrush
  • plate or tray to hold Mod Podge 
  • scissors/decorative scissors
  • glue (We used regular white glue.)
  • green pipe cleaners
  • split peas (or other dried beans, small pebbles, marbles, etc.) 
  • cardstock, scrapbooking paper, or construction paper 
  • optional embellishments: rhinestones, buttons, pom poms, ribbons, etc. 
Directions:
  1. Cover your tin can. Cut a piece of fabric or paper to approximately fit the can. Brush a thin layer of Mod Podge over the surface. Smooth the fabric or paper over the top. Trim excess. Apply another layer of Mod Podge over top. Allow to dry completely. (When ours was dry, Mia tied a ribbon around the can.)
  2. Cut out some paper hearts of various sizes. Make sure to make two of each, one for each side. Do this by making two squares (or rectangles), lay one on top of the other, fold both and then cut out your hearts. (If you are helping your child, trace 1/2 of the heart, and then let her do the cutting.) Tip: You may want to cut some with decorative scissors. We used scalloped scissors in two different sizes.
  3. Decide on designs, and then decorate the hearts. We used 2 or three layers per heart "stem." Mia decided on most of the papers and designs, but I helped with some of the cutting (especially with decorative scissors). She added the self-adhesive rhinestones for extra bling. Let decorated hearts dry.
  4. Cut some green pipe cleaners to two or three different lengths for stems. Tip: An odd number is more visually pleasing, which is why we made 5.
  5. Place a small amount of glue on the backsides of two matching hearts, set pipe cleaner stem down in center, and then press hearts together around it. Smooth down to ensure a tight seal. Set aside to dry completely. Repeat until all hearts are assembled.
  6. Pour enough dry split peas into your tin can until it is nearly full. Insert heart stems, and arrange as desired. Now you have a cute centerpiece to display or a nice gift to give away.
Other Ideas:
  • Of course, you could use a clay pot instead of a tin can. You could even use a Styrofoam cup to mimic to look of a clay pot without the price tag.
  • Make flower shapes in place of hearts and give to Mom or Grandma for Mother's Day.
  • Decorate heart centers with buttons or pom poms.
  • Embellish "stems" with ribbons for leaves. Or just twist your pipe cleaner into the shape of leaves.
  • No pipe cleaners? Use plastic drinking straws instead. Or consider using craft wire.

Monday, June 13, 2011

Father's Day Silhouette Craft

{Mia, age 4 and Logan, age 21 months}
Materials:
  • black paper
  • white crayon (or chalk)
  • clear tape
  • scissors
  • decorative paper
  • glue stick (or scrapbooking adhesive)
  • paper trimmer (optional)
  • picture frame (optional)
Directions:
  1. Have child stand with his or her side against (or close to) the wall in a dimly lit room. 
  2. Tape a piece of black paper (I used 8 1/2" x 11" card stock) to the wall so that the child's face fits in profile. (My paper wasn't quite large enough to fit all of Mia's hair so I fudged it a bit, but I don't think it's very noticeable.)
  3. Quickly trace around the shadow of the child's face, hair and neck using a white crayon or piece of chalk. It doesn't need to be perfect, but you will want to do the nose, mouth and chin first before the child gets squirmy since these parts are tricky.
  4. Cut out the child's silhouette.
  5. Adhere to a piece of decorative paper. (I used 8 1/2" x 11" scrapbooking paper.) You can put the glue on the side you trace on if you are concerned about the white showing. If using chalk, it may be possible to wipe it off, too. Trim paper as needed and place your child's silhouette in a frame if desired. (I found two black 8" x 10" photo frames at Big Lots.) This makes a thoughtful and inexpensive gift for Dad's desk at work. (You could also make silhouettes as Mother's Day gifts, but I am assuming that if you're reading this, you're a mom.)
  6. Repeat steps 1-5 with other children as desired. You could even create a gallery of silhouettes as your children grow.

Tuesday, May 31, 2011

Paper Plate Basket of Flowers Craft

This craft never got displayed at our house because Mia almost immediately took the flowers out and told me that she wanted to put Easter eggs inside instead of flowers--I think I may have seen this craft somewhere before and that might have inspired the flower basket. I'm not really sure, though. I guess you can decide whether or not you want it to be an Easter craft, a Mother's Day craft, or just a spring craft.

{Basket of Flowers by Mia, Age 4}
Materials:
  • paper plate
  • scissors
  • craft sticks
  • tape
  • crayons 
  • construction paper
  • green marker
  • ribbon (optional)
  • paint (optional)
  • paint brush (if using paint)

Directions:
  1. Cut a paper plate in half.
  2. Trim around the the outer arc of one half of the plate. This piece will be the basket handle.
  3. Color your basket and handle using crayons or markers.
  4. Tape basket handle to the back of the paper plate half.
  5. Make flowers for the basket. Mia traced some flower shaped cookie cutters and I helped her cut them out. She also used some flower shaped sponges (which we had bought on clearance at Meijer) to stamp some shapes with tempera paint. Once the paint was dry, I helped her cut them out.
  6. Using a green marker, color some craft sticks to make stems for the flowers. Tape craft sticks to the back side of the paper flowers.
  7. If desired, add a decorative bow to the flower basket. You might also want to add one to the back for hanging it.

Monday, May 16, 2011

"Just Ducky" Foot Print Painting

Logan's teacher helped him make this cute little duck at play group last week.

{Ducky by Logan, Age 20 Months}
Materials:
  • paper
  • paintbrush
  • yellow or brown paint
  • black and orange markers
  • bowl or plate to hold paint
  • newspaper (optional)
  • paper towel, baby wipes, etc. for cleaning up
Directions:
  1. Use a paintbrush (foam works well) to apply paint to the bottom of child's foot.
  2. Press child's foot onto a piece of paper. (I like to do this by placing the paper on the floor on top of some newspaper and having the child stand on it to make the print.)
  3. Clean child's foot and allow paint to dry.
  4. Make the heel of the foot print into the duck's head by using a black marker to draw an eye and an orange marker to draw a beak.
  5. Display your ducky painting or give it away as a gift. (Foot print art makes a nice Mother's Day present.)
Note: While at play group again today, I noticed the ducks that inspired Logan's teacher and they had been cut out and arranged in a construction paper pond setting. Very cute! (May 18, 2011)

    Saturday, May 7, 2011

    Dyed Pasta Necklace

    {Pasta Necklace by Mia, Age 4}
    Materials for Dying Pasta:
    • tube shaped pasta
    • food coloring
    • bowls
    • water
    • vinegar 
    • spoon or slotted spoon
    • tin foil
    • cookie sheets
    • zippered baggies
    Directions for Dying Pasta:
    1. You will need one cup of water in a bowl per color of pasta you wish to dye.
    2. Add 2 tablespoons of vinegar and food coloring. (The directions I found online call for about 20 drops of liquid color, but I used gel food coloring and just used a spoon to blend each color.)
    3. Add pasta to the liquid mixture and let soak for about 20-30 minutes. (I used one cup of Ditalini, a short tube-shaped pasta for each color: pink, blue, green, and yellow, but other types of pasta such as macaroni, penne, rigatoni, and wagon wheels will also work if you are planning to use them as beads.)
    4. Remove pasta from bowls and set on foil-lined trays. (I used a slotted spoon for this.) Discard dye or use to make coffee filter carnations. Allow pasta to dry over night.
    5. Store dried pasta in zippered baggies.
    Materials for Making Pasta Necklace:
    • previously dyed pasta
    • yarn, string, ribbon, etc.
    • scissors
    • tape (optional)
    • cookie sheet or tray (optional)
    Directions for Making Pasta Necklace:
    1. Cut a length of yarn (or ribbon or string) and tie a knot on one end, making sure that it is large enough to prevent pasta from slipping off. (Tip: I like to actually make a small circle on the end before knotting and then use this as a place to secure the necklace when it is finished.)
    2. If desired, wrap a small section of tape around the opposite end of the yarn so that it resembles the end of a shoe lace. This prevents the yarn from fraying when you thread the beads.
    3. Thread beads onto necklace as desired. (Tip: I have found that placing a few beads onto a tray-- or cookie sheet if you don't have a tray-- is helpful. It gives you or your child a large enough area to work on, but it prevents the beads from rolling all over the place and making a mess. You can also store works in progress directly on the tray.)
    4. Once your necklace is complete, tie off the end to the desired length and trim off excess yarn if necessary.
    5. Wear your dyed pasta necklace or give it away, perhaps for Mother's Day.

    Saturday, April 23, 2011

    Earth Day Flower Crafts

    I came up with this recycled craft in honor of Earth Day.

    Materials:
    • newspaper
    • scissors
    • watercolor paints
    • paintbrush
    • construction paper 
    • pencil
    • buttons (optional)
    • decorative scissors (optional)
    • lids, cups, bowls, plates, etc. for tracing
    • drinking straws, pipe cleaners, or yarn (optional)

    Directions:
    1. Trace various sized circles onto newspaper. (I used lids and plastic containers from the recycling bin for this, but you could also use cups, bowls, or plates.)
    2. Fill in circles with watercolor paints. 
    3. Allow to dry and then cut out circles using scissors or decorative scissors. I used some with scalloped and zigzag edges, for example.
    4. Layer and arrange circles as desired to form flowers. When you're happy with the arrangement, glue flowers onto construction paper.
    5. Add extra decorative touches to the flowers if desired. I used buttons for the flower's centers, but you could also make stems using straws, pipe cleaners, or yarn.
      {Mia, age 4, put her own spin on this craft. After cutting out her circles, she pinched them into flowers and added pipe cleaner stems like we had done when we made coffee filter carnations.}

    Thursday, April 7, 2011

    Coffee Filter Carnations

    This craft was inspired by a coffee filter flower that Mia made in preschool. Hers was painted with watercolor paints, which you could also do, but I thought this was a quick and simple alternative. Another option is to color the coffee filters with washable markers and then spray them with water. If you didn't want to mess around with coloring or painting, you could also just cut out circles of colored tissue paper to make these flowers. Thanks to Sue for adding that this is a great way to use up your extra dye after coloring Easter eggs!

    Materials:
    • glass of water
    • food coloring
    • coffee filters
    • green pipe cleaners
    • newspaper (optional)
    Directions:
    1. Add a few drops of food coloring of your choice to a glass of water.
    2. Fold a coffee filter into quarters and dip the pointed end into the glass of water. Allow the color to seep all the way up, unfold the coffee filter, and then set it aside to dry. (I sometimes do this on newspaper, but I've also found that a wire baking rack works nicely because the coffee filter won't stick to it.)
    3. Take the dry coffee filter, pinch it in the center, and twist it tightly so that the twisted portion is about 1/2 to 1 inch long.
    4. While holding the twisted part of the coffee filter in one hand, wrap the end of a green pipe cleaner around it until it is covered (about 4-6 times.) Kids may need help with this part.
    5.  Make several flowers and display them in a vase or give them away as Easter or Mother's Day gifts.