Showing posts with label puffy paint. Show all posts

Tuesday, June 18, 2013

Slippery Sock Solution

After reading this post about "parent hacks" that my friend Kelli shared on Facebook, I decided that I loved that lingo -- "parent hacks" -- so I am totally going to borrow it! I had seen a few of those ideas before, but the only one that I am currently using is the bread tab on the end of the tape roll so that I can always find the end. (This really is handy, and I have one on every roll of masking tape, duct tape, and packing tape in the house.) Reading about another person's ideas of "parent hacks" got me thinking as to whether or not I have created any "parent hacks" of my own. I came up with just one idea I have pulled off and posted about, my holy footie pj's repair job.

However, I did accomplish another "parent hack" this week, and quite successfully, I might add. Mia has been complaining about her socks being too slippery. (I'm not exactly sure why this is such an issue, considering that it is summer, but whatever.) Anyway, I must have mentioned an idea I had seen or read about somewhere to use puffy paint on the bottoms of socks (or maybe it was footie pajamas, since I was looking for ideas for fixing those holes...). Essentially, this would create DIY gripper socks, like the kind she always had when she was a toddler (but didn't have in her big-girl wardrobe). Mia reminded me that I had said I would do this, and she held me to it. We had a fresh supply of puffy paint on hand from having recently made our own window clings, so I couldn't really use the excuse of not having what I needed to get it done. So, I had her round up all the socks that required my attention before she went to bed one recent evening. This just meant that I had to actually make the gripper socks.

Fortunately, this is a truly simple "parent hack." To make gripper socks, I just took a tube of puffy paint (I used black, but any color would work) and made designs on the bottoms of her socks. Some designs that I used included dots, squiggly lines, butterflies, and hearts. On one pair, I wrote her name in a sort of calligraphy-inspired script, which she was especially excited by. Then, I just left the socks -- paint side up -- on the table to dry overnight. The not-so-slippery socks were ready to wear by morning. Problem solved.

{My slippery sock solution: puffy paint!}

Tuesday, April 9, 2013

Recycled Magnet Craft

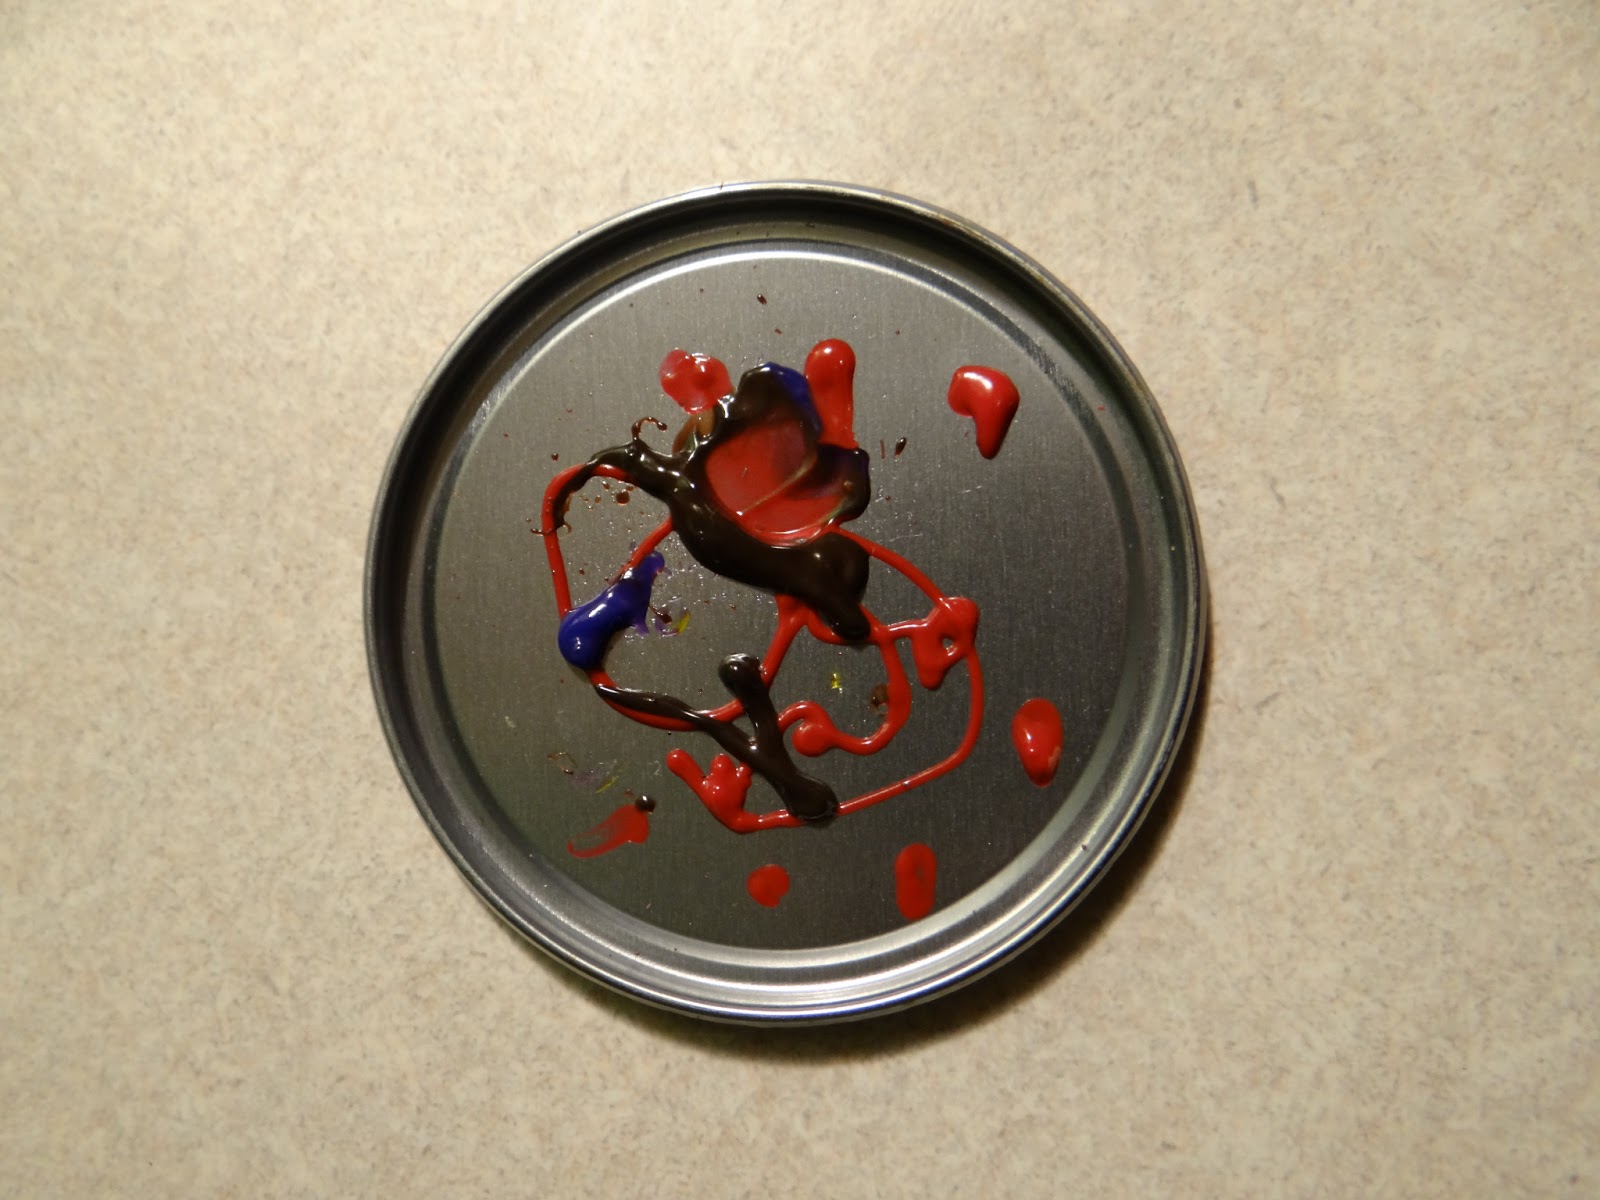
Here is a brilliantly simple way to re-use that round piece of aluminum that comes with cans of frozen juice. I learned this one tonight at the Art Night at Mia's school and even though I very rarely buy frozen juice, I loved this idea! In the past I always felt there had to be another use for that nice round piece of tin, but I never thought of one. Now, I know! They make super-simple little magnets.

To switch things up, you could even cut out a photo and paste it in to make them little photo frame magnets instead of using puffy paint. That is much less likely to stain clothing and more personal, too. I think that would make a nice Mother's Day gift idea.

{Recycled Magnet by Mia, Age 6}


Materials:
  • clean, round aluminum lid from frozen juice can
  • self-adhesive magnet
  • puffy paint
Directions:
  1. Peel the backing off of a self-adhesive magnet, and adhere it to the inside of a clean, round lid from a frozen juice can.
  2. Flip it over and then use puffy paint to make designs on the opposite side. Tip: I have found puffy paint to stain clothing, so you may want kids to wear smocks or old clothes before using puffy paint.
  3. Allow puffy paint to dry completely. This will take several hours, more or less, depending upon how thickly you apply the paint. Now you have a magnet. Tip: You can save your lids and then make several magnets to give as gifts. This is something useful that any mother would appreciate for Mother's Day!

Thursday, March 8, 2012

DIY Puffy Paint

Thank goodness for Pinterest. I needed an idea of something to do with the kiddos on this rainy day, and here it is. I didn't have a full cup of salt (You may have the same issue if you frequently make play dough, too.), so I figured it really was just using equal amounts of the ingredients that mattered. I used 1/2 cup each of flour, water, salt, and this was enough to fill the bottles each about 1/3 full. I think they are 4 ounce bottles if you want an idea of how much we made. The kids each made one painting and we have plenty left over for a few more uses. Note: Even though this is made from items in the pantry, it is not edible. And I don't recommend calling your dog to lick up the teeny bit you might spill on the kitchen floor because, oh, about 2 minutes later, you will be cleaning up puke, and unless you are some sort of sadist, this is never fun.

Materials:
  • flour
  • salt
  • water
  • food coloring
  • bowl 
  • spoon
  • squeeze bottles
  • paper
Directions:
  1. Mix equal parts flour, water, and salt in a bowl. Spoon or pour into plastic squeeze bottles. (Ours are reused from a tie dye kit that we bought over the summer.)
  2. Add a few drops of food coloring to each bottle. Make sure caps are on tightly and shake to mix the colors.
  3. Protect kids' clothing (I have no idea if this washes out or not.) and have fun painting. Allow paint to dry.